This is the second in a series of blog posts about the Creativity Labs’ fiber arts summer workshops. The workshops are experiential opportunities to learn new crafting skills, which have connections to the current Re-Crafting Education project. We are learning from and working with experienced crafters in the community to strengthen our understanding of and connection to the regional fiber arts community.
In this second workshop, the Creativity Labs team took on the next fiber arts challenge during a group knitting lesson at Yarns Unlimited in downtown Bloomington, IN. The local yarn shop has been a key site for observation and instruction during the Re-Crafting project, and offers both a rich collection of beautiful, soft and colorful materials and fiber arts classes for crafters in the community, including knitting, crocheting, and weaving among many more. In addition to the playful storefront, where fibers, yarns and felt as well as knitting needles of all sizes and books inspire to make, the shop contains a classroom dedicated to fiber arts lessons.
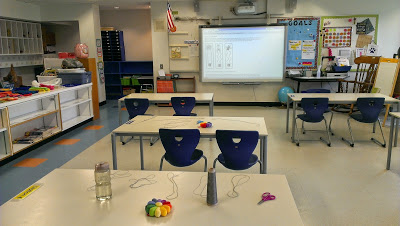
The crafting classroom at Yarns Unlimited.
The teaching staff comprises of passionate, skilled and dedicated knitters, crocheters, and weavers. Our instructor, Karen Canapa, has been knitting and crocheting most of her life, attesting to its therapeutic benefits. She works with fiber artists of all levels, but is particularly patient throughout the (sometimes frustrating) first minutes of a new knitter’s quest to get in the loop. Her extensive work with beginner knitters has given her the opportunity to observe and to design effective and fun instructions for a knitter’s first lesson.
Here is a glimpse of what we learned when we picked up our needles:
- The Slip Knot: To start a new project, the knitter can make the first loop to slip onto the knitting needles. This loop is called a slip knot, and the yarn “slips” right onto the needle as the knitter prepares the project. Karen warned us that the slip knot can be “super tricky” to make - we agree with her!
“The [slip knot] is a small knot that leaves a loop on one end,” Karen explained, “and if you pull the two ends, the knot completely disappears. So, it allows us to have a variable size beginning stitch.”
From left to right: Karen shows Anna another variation of the slip-knot technique. Sophia practices making slip knots in the crafting classroom.
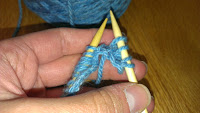
- The Cast-On: The first row of a knitted project is the row that is cast onto the needle by the knitter. The knitter will put both needles into the slip knot to make an “X” shape.


From left to right: Putting the needles through the slip knot. Folding the yarn over the needle to prepare for the first stitch. Starting the second row of stitches.
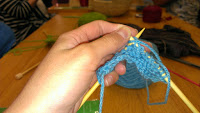
- The Knit and Purl: Knitting consists of two basic stitches: knit stitches and purl stitches. The first stitch the beginner knitter learns is the knit. A series of knit stitches is called the garter stitch pattern. We learned to knit a few rows of knit stitches. We also worked together fix some of our mistakes. In doing so, we were able to see that knitting is actually a process of crafting that generates loops, instead of knots (as some may think). A row of stitches is essentially a connected line of loops! After learning the knit stitch, Karen taught us the purl stitch, which can be thought of as a reverse knit stitch.
Sophia learns to knit and purl across the row on her stitches.
These 3 techniques work together to form a knitter’s first tool kit. The knit stitch itself can be used to create an extensive collection of projects. Together, we learned that the first moments of knitting can be complex and challenging, but as one of us (Kate) writes about in her first weeks as an embedded knitter, mistake-making is a valuable component of the learning process. Karen recommends 15 minutes of practice a day to develop a natural flow to your knitting practice. It may only be a matter of time before the Creativity Labs knits a matching team uniform.


